


Page 2
In chronological order:
(Click on any thumbnail for the full-size picture)
 |
 |
 |
 |
|
12-17-2000 - Ceiling
Install |
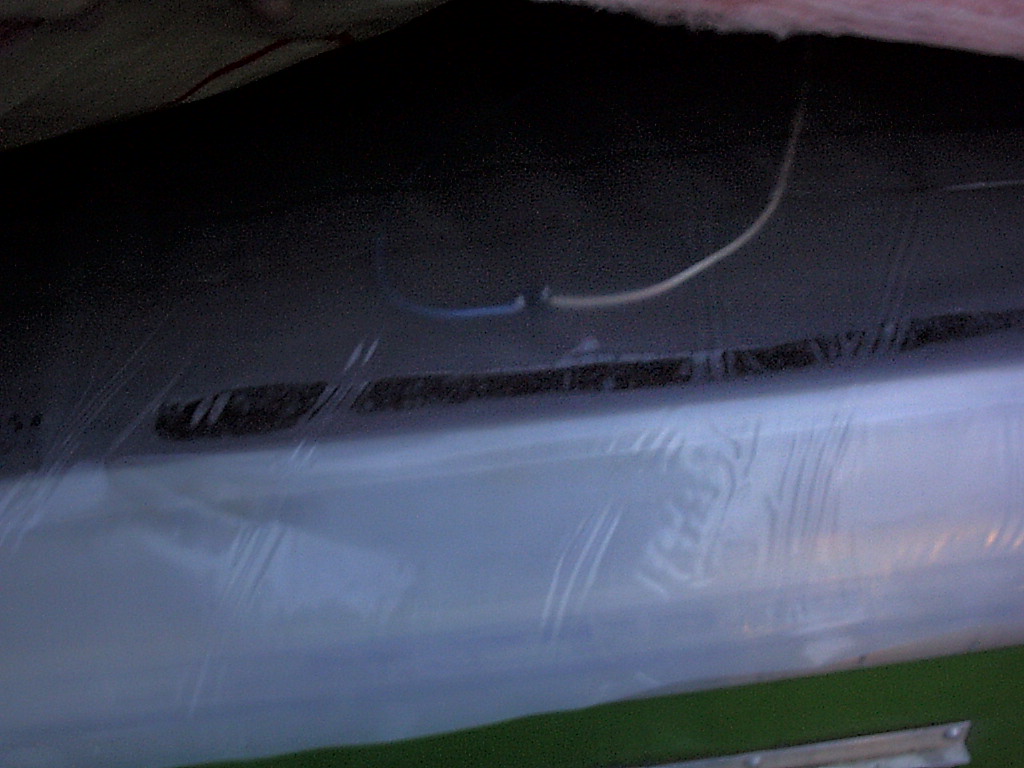
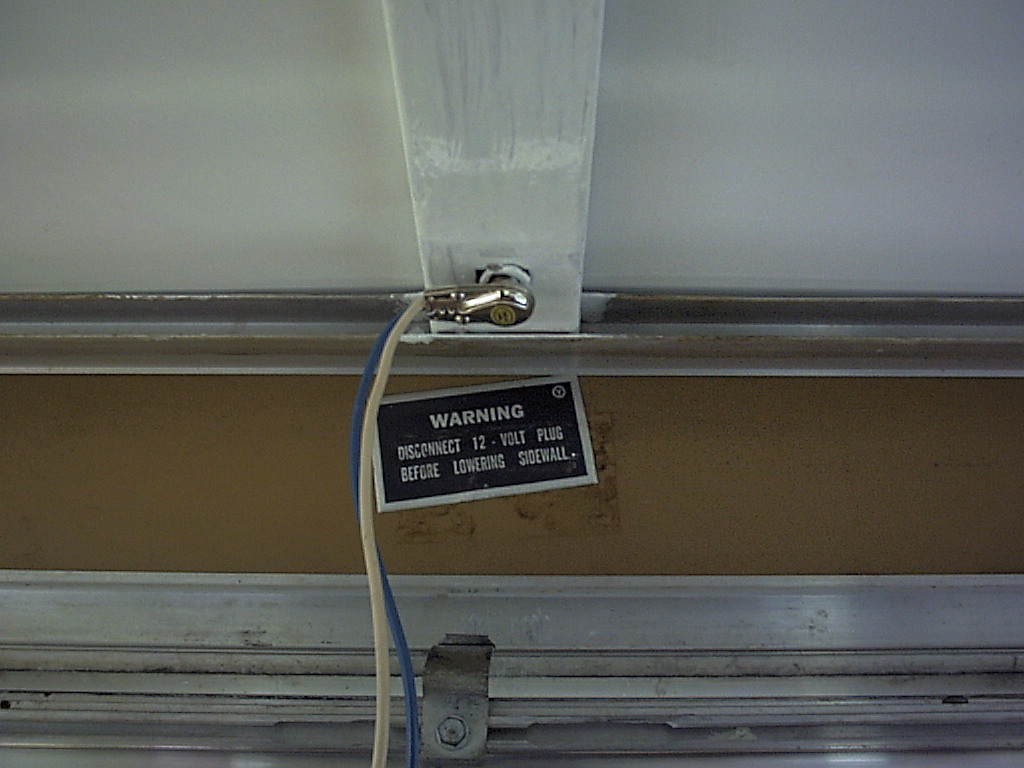
12-20-2000 - Ceiling
Install Once the ceiling was installed, we wired a new 12v connector (shown here), then put a plastic dropcloth on top to act as a vapor barrier. |
12-20-2000 - FAILED
Insulation I thought I could get away with using this thick of fiberglass insulation. I was wrong. This was way too thick for the road cover to be able to get back on. |
12-20-2000 - FAILED
Insulation You can see in this shot just how thick the stuff was. DON'T TRY THIS AT HOME. I liked the photo, though! |
 |
 |
 |
 |
| 12-28-2000 - Bubble
Insulation Frustrated at my failed attempt, I went to Home Depot and found this stuff. Reflective Bubble Wrap, about 1/4" thick. Got a couple of 4" rolls and was set! |
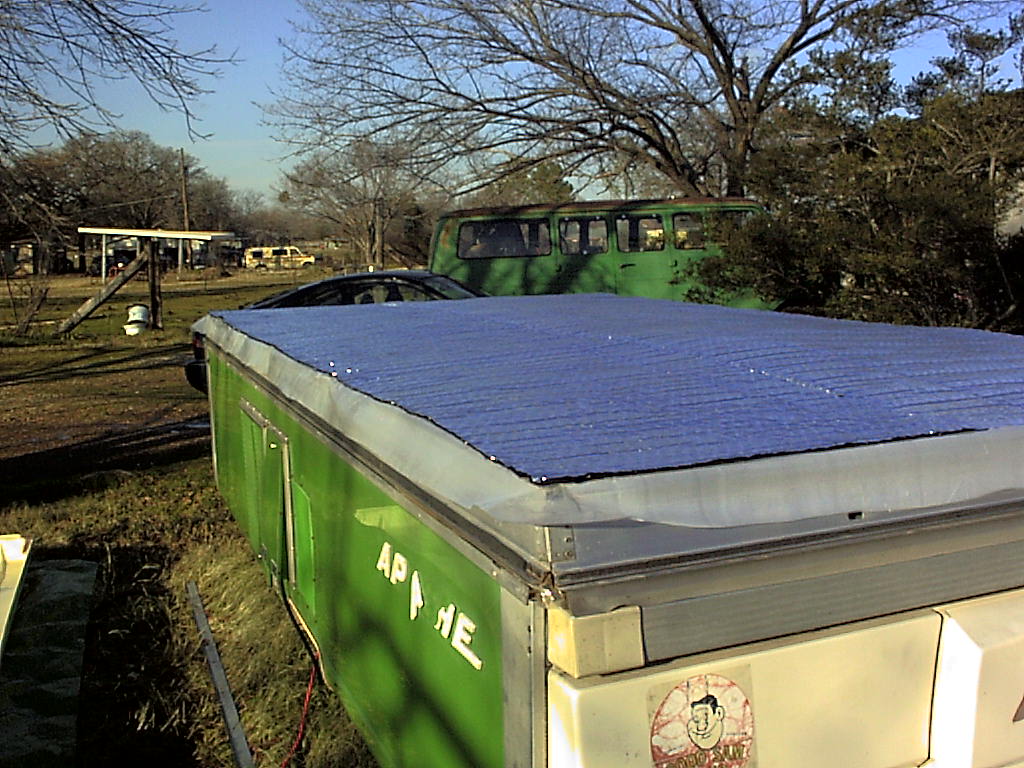
12-28-2000 - Bubble
Insulation Here you can see just how thin it is. However, I think it does an excellent job, plus it acts like a second vapor barrier! |
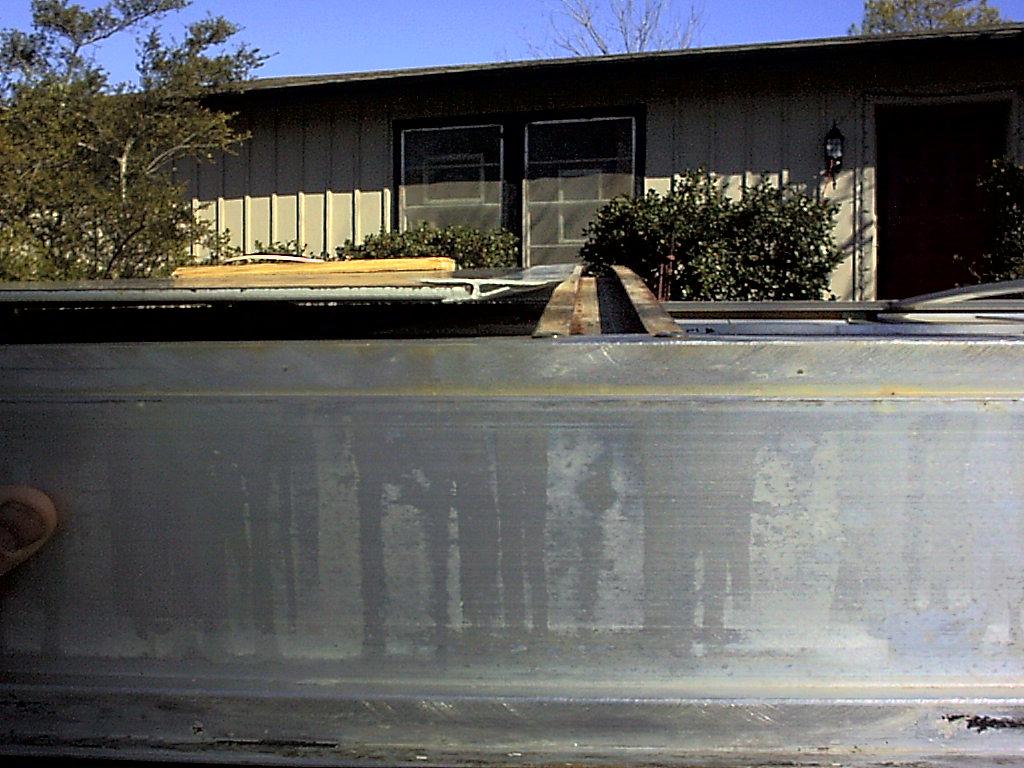
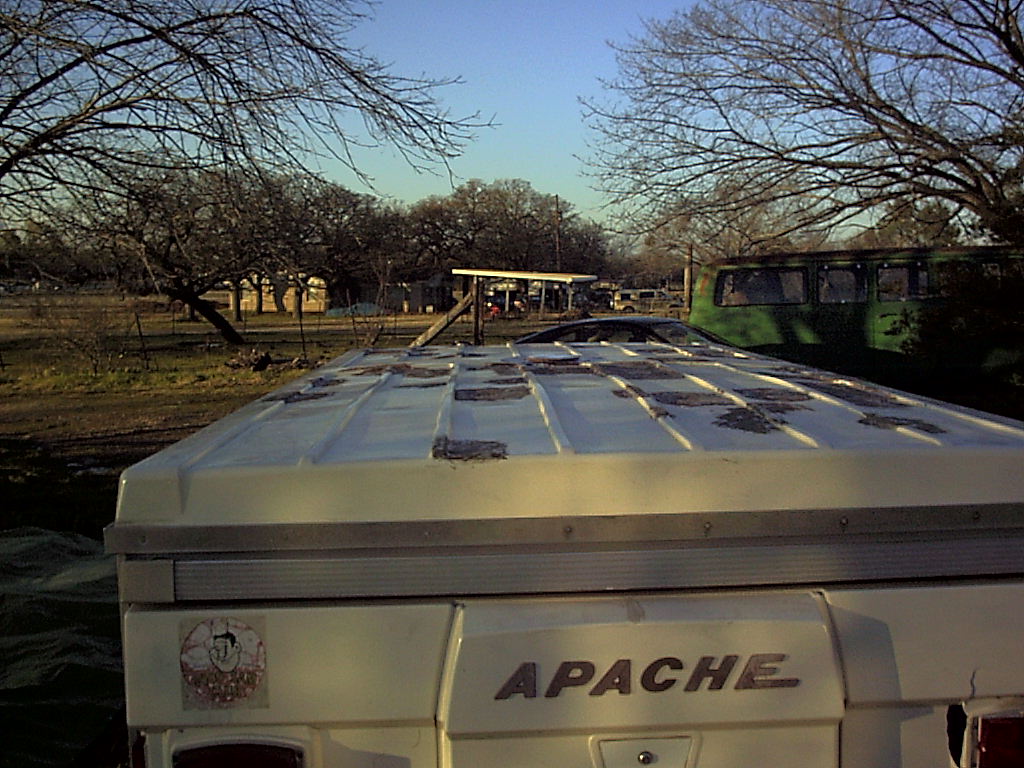
12-28-2000 - Road
Cover Reinstall I used Bondo-Glass for the top hole patches. At this point they are sanded but not painted, so they are pretty visible. |
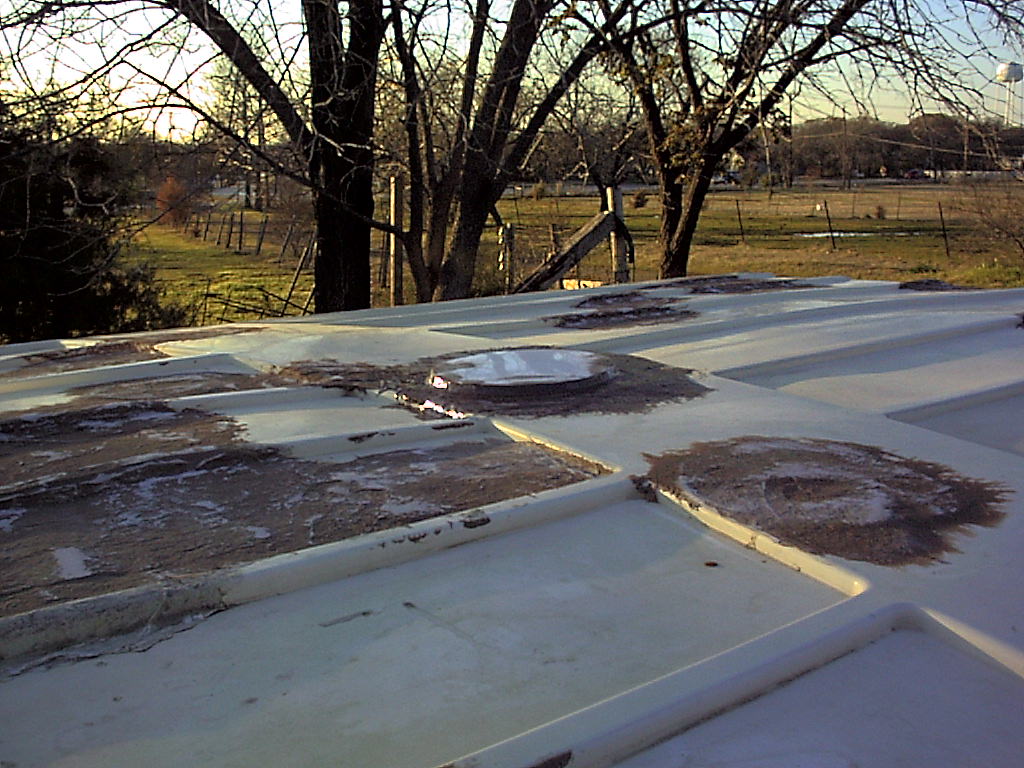
12-28-2000 - Road
Cover Reinstall We rarely cook inside, so I took the vent fan completely out, covered the hole with a stove 'burner cover,' and Bondo-Glassed it in. |
 |
 |
 |
 |
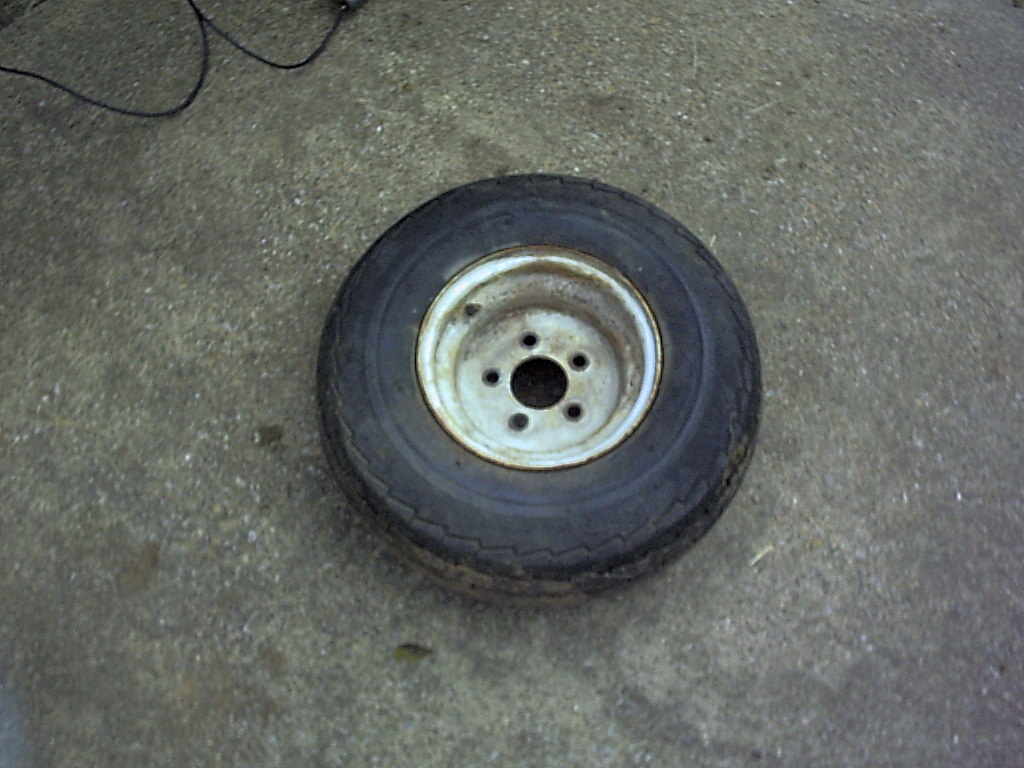
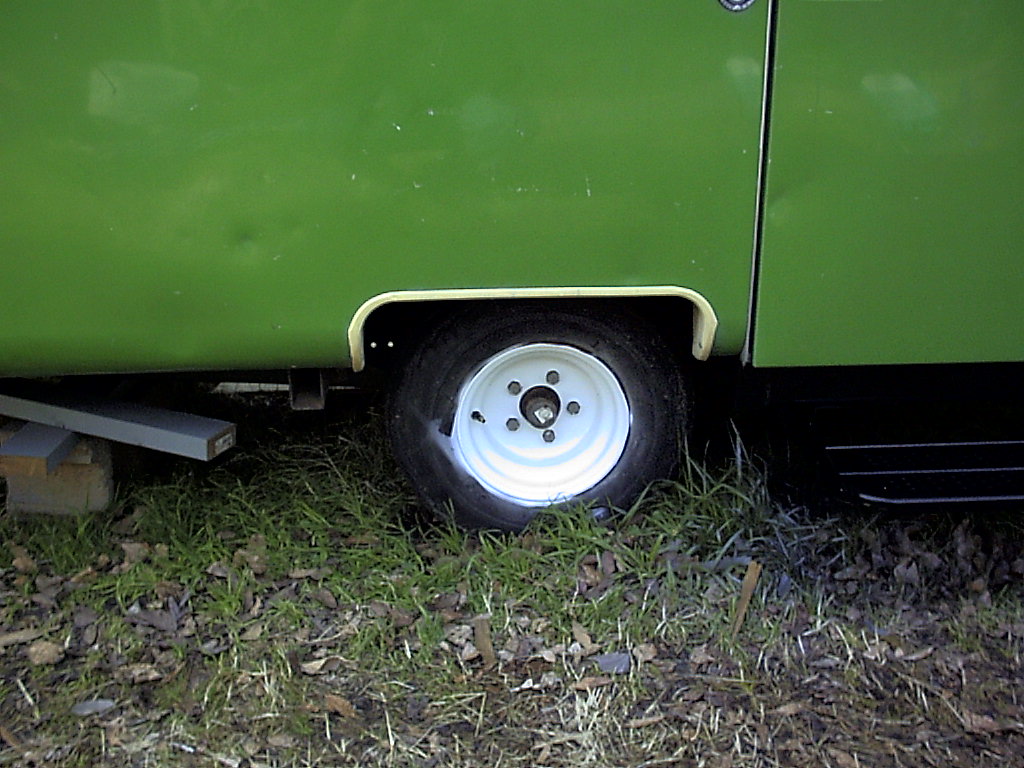
| 01-21-2001 - Rusty
Rims As you can see here, my tire rims were in pretty bad shape. |
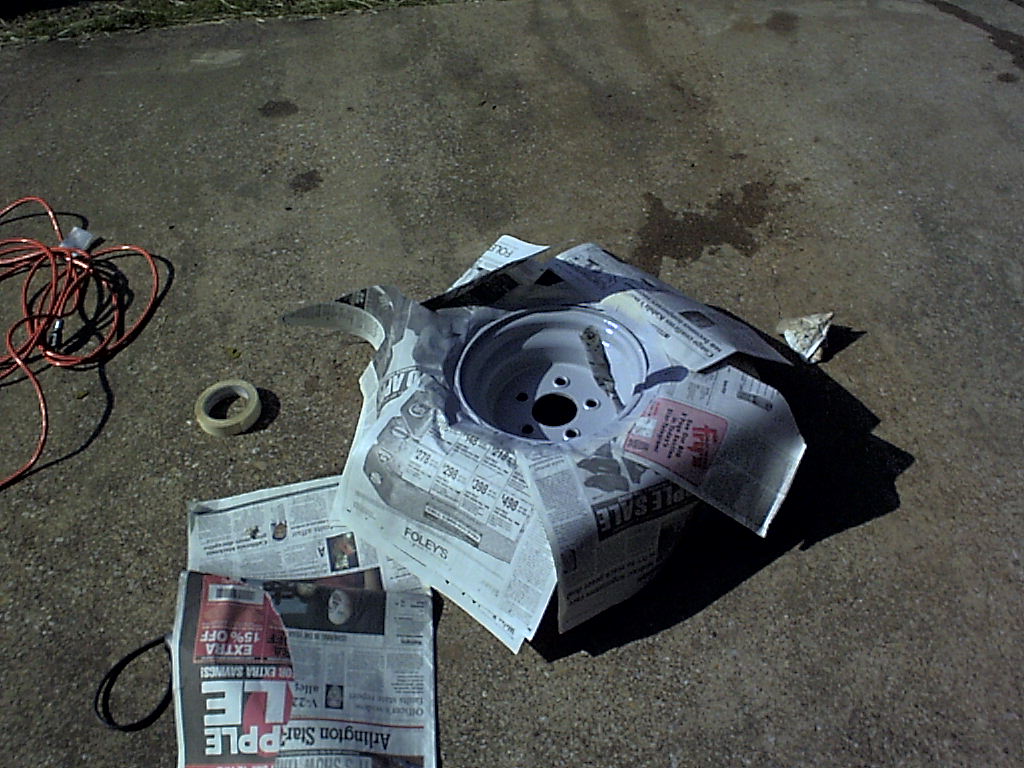
01-21-2001 - Rusty
Rims I used a wire wheel to clear off the rust, then applied this coat of primer. |
01-21-2001 - Rusty
Rims Here is the finished product. Just regular white spray-paint. I also cleaned off the rust on the black step and painted that too. |
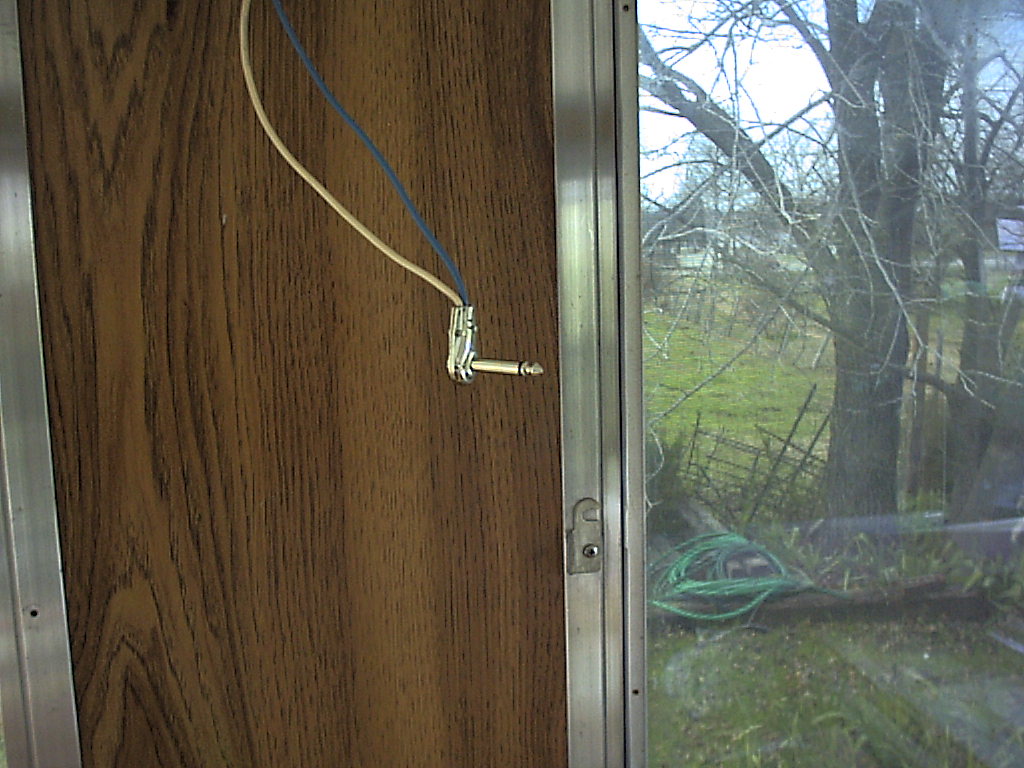
01-21-2001 - New
12v Connector Our old Molex plug was in bad shape, so we used this 1/4" plug instead. |
 |
 |
|
 |
| 01-21-2001 - New
12v Connector Here is the connector plugged in. |
01-21-2001 - New
Countertops Our old countertops were falling to pieces because of the water damage they sustained. This is a standard countertop purchased at home depot. |
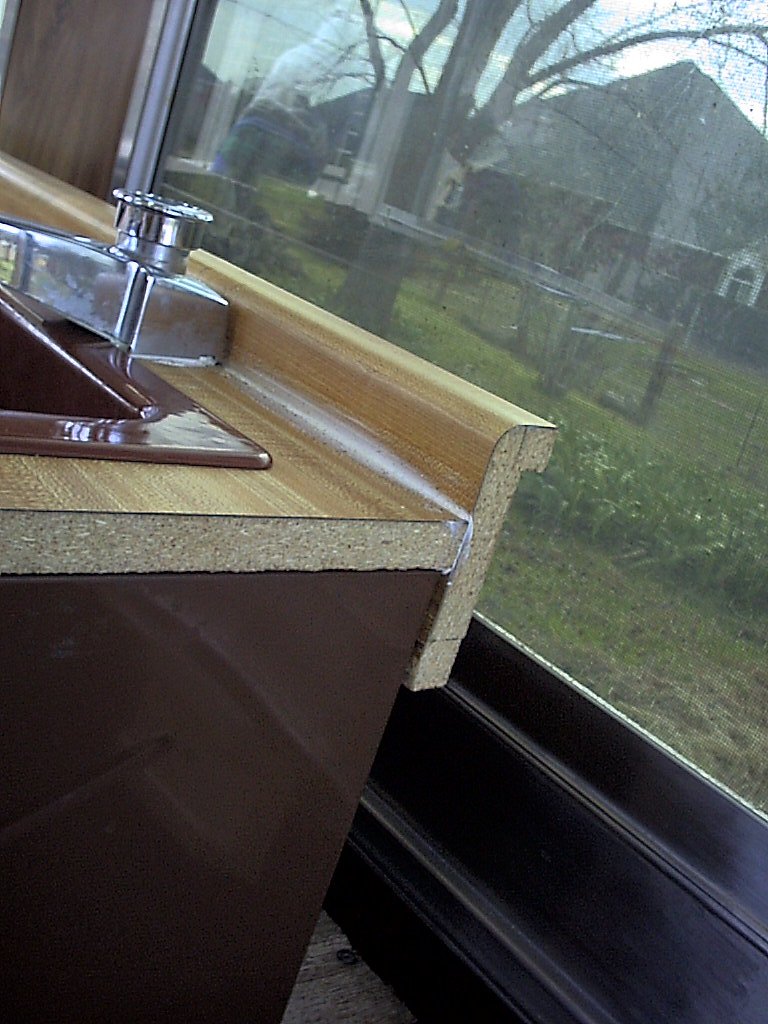
01-21-2001 - New
Countertops Here you can see the modifications I made to make the backsplash shorter, and to anchor the back to the back of the cabinet. |
01-21-2001 - New
Countertops The only other thing I had to do was cut off the 2" or so of counter that was blocking the cabinet doors from opening. |
Jump to: | Page 1 | Page 2 | Page 3 | Page 4 | Page 5 | Page 6 |